How to Clean a Burr Coffee Grinder
A dry brush is often the right tool for cleaning a burr grinder. Brush only the areas you can reach and remove only the parts your manual describes as removable. Switch off and unplug an electric grinder before opening it.
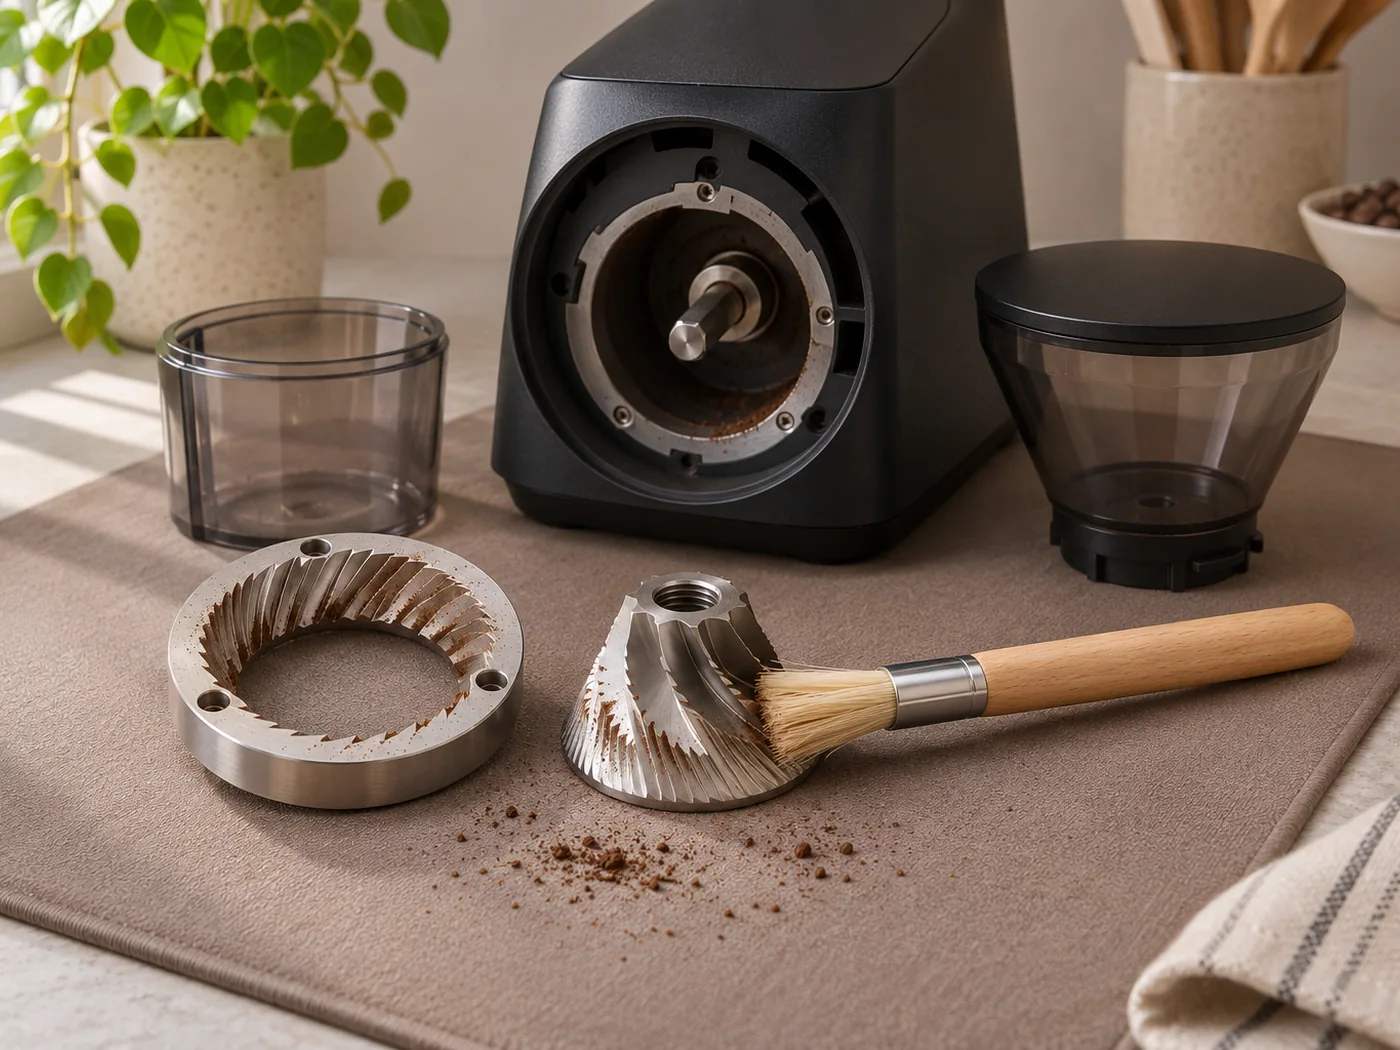
A dry brush is often the right tool for cleaning a burr grinder. Brush only the areas you can reach and remove only the parts your manual describes as removable. Switch off and unplug an electric grinder before opening it.
Empty the hopper and grounds bin
Empty both containers. If the manufacturer allows it, grind through any beans still inside before unplugging the machine. Some hoppers have a gate you can close before taking them off. If your manual shows how to remove a burr or carrier, note the markings that help you put it back in the right position. Leave fixed parts in place.
Brush away loose grounds
Use a clean, dry brush to lift out loose grounds from the chamber and chute where you can reach them. Wash only the parts designed for it and let them dry completely before putting them back. Keep water away from the motor and the burrs unless your manual expressly says otherwise. If the manufacturer approves grinder-cleaning tablets, follow the directions on how much to use and how to clear the residue afterwards.
Reassemble and check with a small dose
Fit the parts as directed and check that they are seated correctly. Grind a small amount of coffee only after everything is back in place, then check that the grounds fall into the bin steadily. If the chute stays blocked or the grinder makes an unfamiliar noise, stop and consult the instructions for your model. Coffee oils and fine particles build up at different rates. Base your cleaning routine on how you use the grinder and the manufacturer’s guidance.
Manufacturer guidance
Related reading – Coffee accessories worth having at home