AeroPress coffee on the go: one cup with a light kit
For AeroPress Original coffee on the go, you need paper filters, a sturdy mug, a dose of coffee and hot water. Brew upright on a level surface and follow the fill marks and instructions for your model.
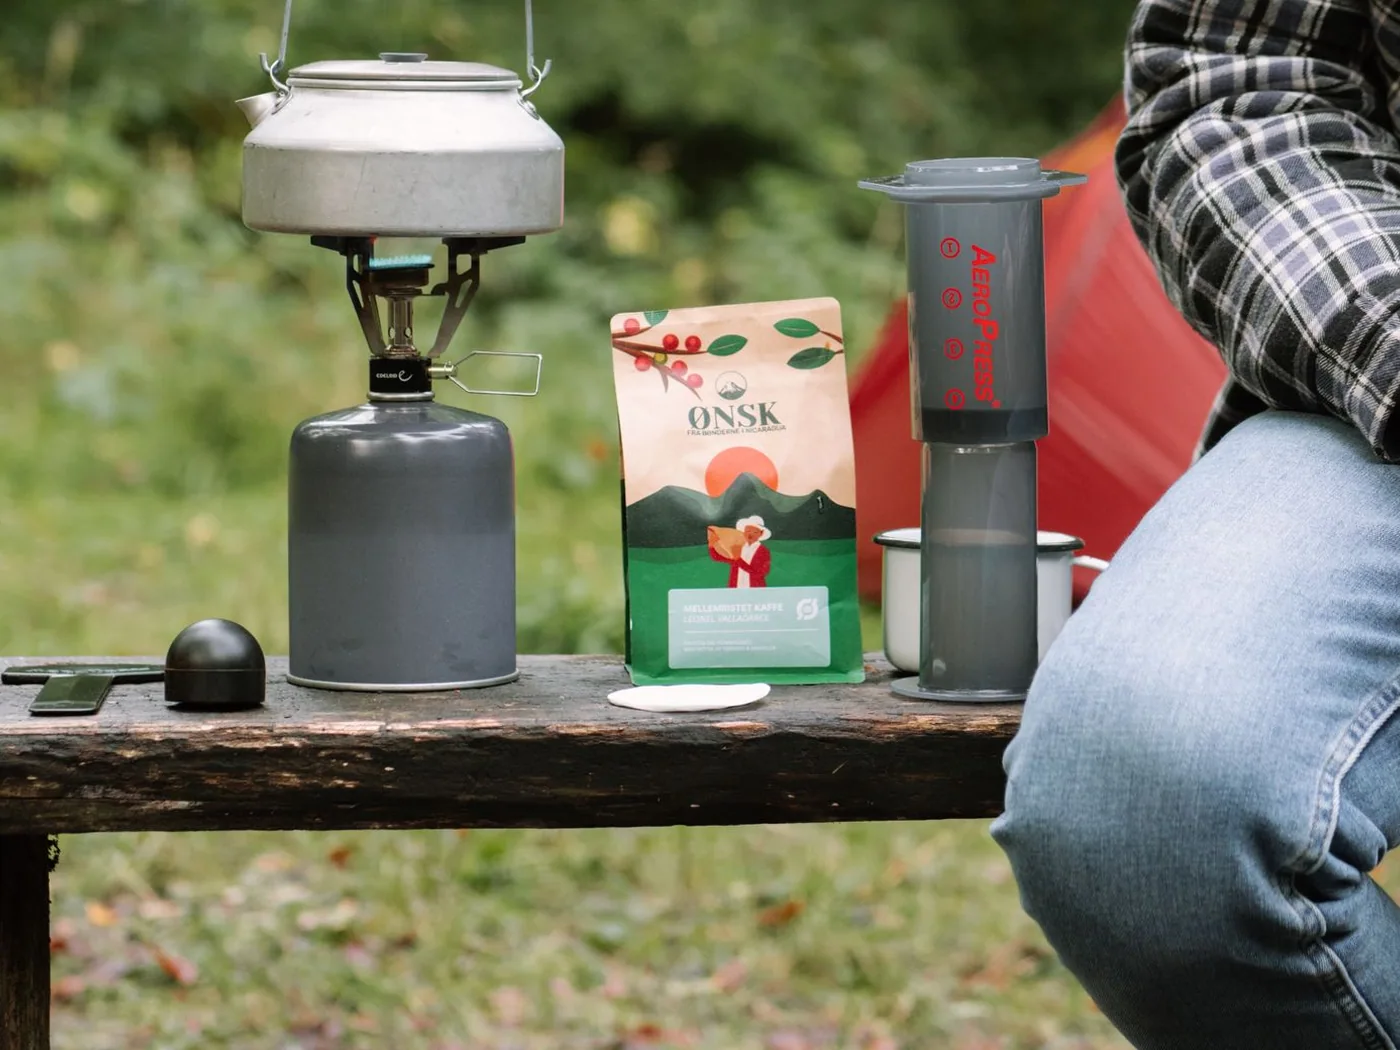
For AeroPress Original coffee on the go, you need paper filters, a sturdy mug, a dose of coffee and hot water. Brew upright on a level surface and follow the fill marks and instructions for your model.
What to pack
Take the chamber, plunger, filter cap and a few compatible paper filters. Measure your ground coffee into portions in a dry, airtight container so you can brew without a scale. Pick a sturdy mug with a rim that supports the chamber. Other models, including the Go, have different fill marks.
Brew upright
Put the paper filter into the cap and screw it onto the chamber. Stand the chamber on the mug. For the AeroPress Original, the manufacturer lists 16–18 g of medium-fine coffee, water at about 85°C and fill mark 4. Stir briefly and insert the plunger. Wait about one minute. Refer to the instructions for the exact technique for your model.
Press slowly and evenly. If the plunger is hard to move, avoid forcing it. Check that the filter sits properly next time and consider grinding a little coarser. Let the coffee cool to a comfortable temperature before tasting.
Adjust the cup
If it tastes too concentrated, add a little hot water to the cup after brewing. You do not need to fill the chamber higher or press harder. When a cup tastes good, note the dose, grind and fill mark so you can repeat it on the next trip.
Rinse and pack away
Dispose of the grounds and paper as instructed. Rinse the parts and let them dry. If you are leaving straight away, keep the damp parts separate from your dry paper filters so your next brew is ready to go.
Source
AeroPress – Original and Clear brewing instructions
Related reading – Keeping your coffee fresh while travelling